
How to Record Electric Guitar Without an Amp

Want to record your guitar but don't have an amp or the know how, space, equipment, and everything else needed to record an amp? Good news, you're not out of luck.
Today I'm going to show you how to plug straight into your computer, record a clean DI guitar signal, and then turn it into a full guitar tone using virtual amp sims. The best part is that you can do this anytime, even late at night, without disturbing anyone.
What's Needed
Amp sims have come a long way in recent years. You can get a polished, record ready tone in minutes without an amp or microphone. However, there are still a few things you will need before you can start recording.
If you're serious about making music at home, it helps to have a home studio setup. If you don't have one yet, you can grab my free Home Studio Starter guide, which walks you through every thing you need to get up and running.
Guitar

It's kind of obvious, but if you want to record guitar, you'll need one. There's been recent huge improvements with virtual guitars, and you can get some semi-passable results with them, but they still aren't quite there yet. Even a cheap guitar can get you great sounding results.
If you are trying to record something you can release and not just a demo, you're going to want to make sure your guitar is set up and ready to record. This means making sure it's clean, the string action is set how you like, the intonation is good, the neck relief is correct so there's no fret buzz, and there's a new set strings on it that have had the time to adjust for at least a few hours or over night.
A properly set up guitar means you can focus on playing the part without worrying about buzzing or tuning problems.
Oh, and don't forget about guitar picks. Have them on hand and within reach. It's good to have a few different thickness options as well in case you're looking for a slightly different sound.
Guitar Cable

The last thing you want is to record a flawless take just to find out the signal cut in and out or is staticky due to a bad guitar cable.
You don't need to spend a fortune on a guitar cable, but you also shouldn't choose the cheapest option. It's better to spend a little more on a cable that will last you years than it is to spend less on a cable that might last a year or less.
I spent $40 back in 2017 on the guitar cable that I still use to this day for recording and have never had any issues with it.
Audio Interface

If you're serious about recording your music, you need an audio interface. Choosing the right audio interface depends on what you want to record.
For recording guitar DI, the interface will need a 1/4" input. Many interfaces now have a dedicated guitar input just for recording DI. Guitar DI is just a fancy way of saying the direct output from the jack your guitar.
Recording Software (DAW)

Recording software, or more commonly called, a DAW, is what you'll use to record your guitar.
There are many great DAWs available, each with their own feel and workflow. If you don't already have a favorite or have never used one, start by trying a few. Most audio interfaces come with lite versions of one or more DAWs to get you started.
If your audio interface didn't come with a DAW, most popular options offer free trials. You can also watch a few beginner tutorials for a DAW you think you might like to see how it works before starting a trial.
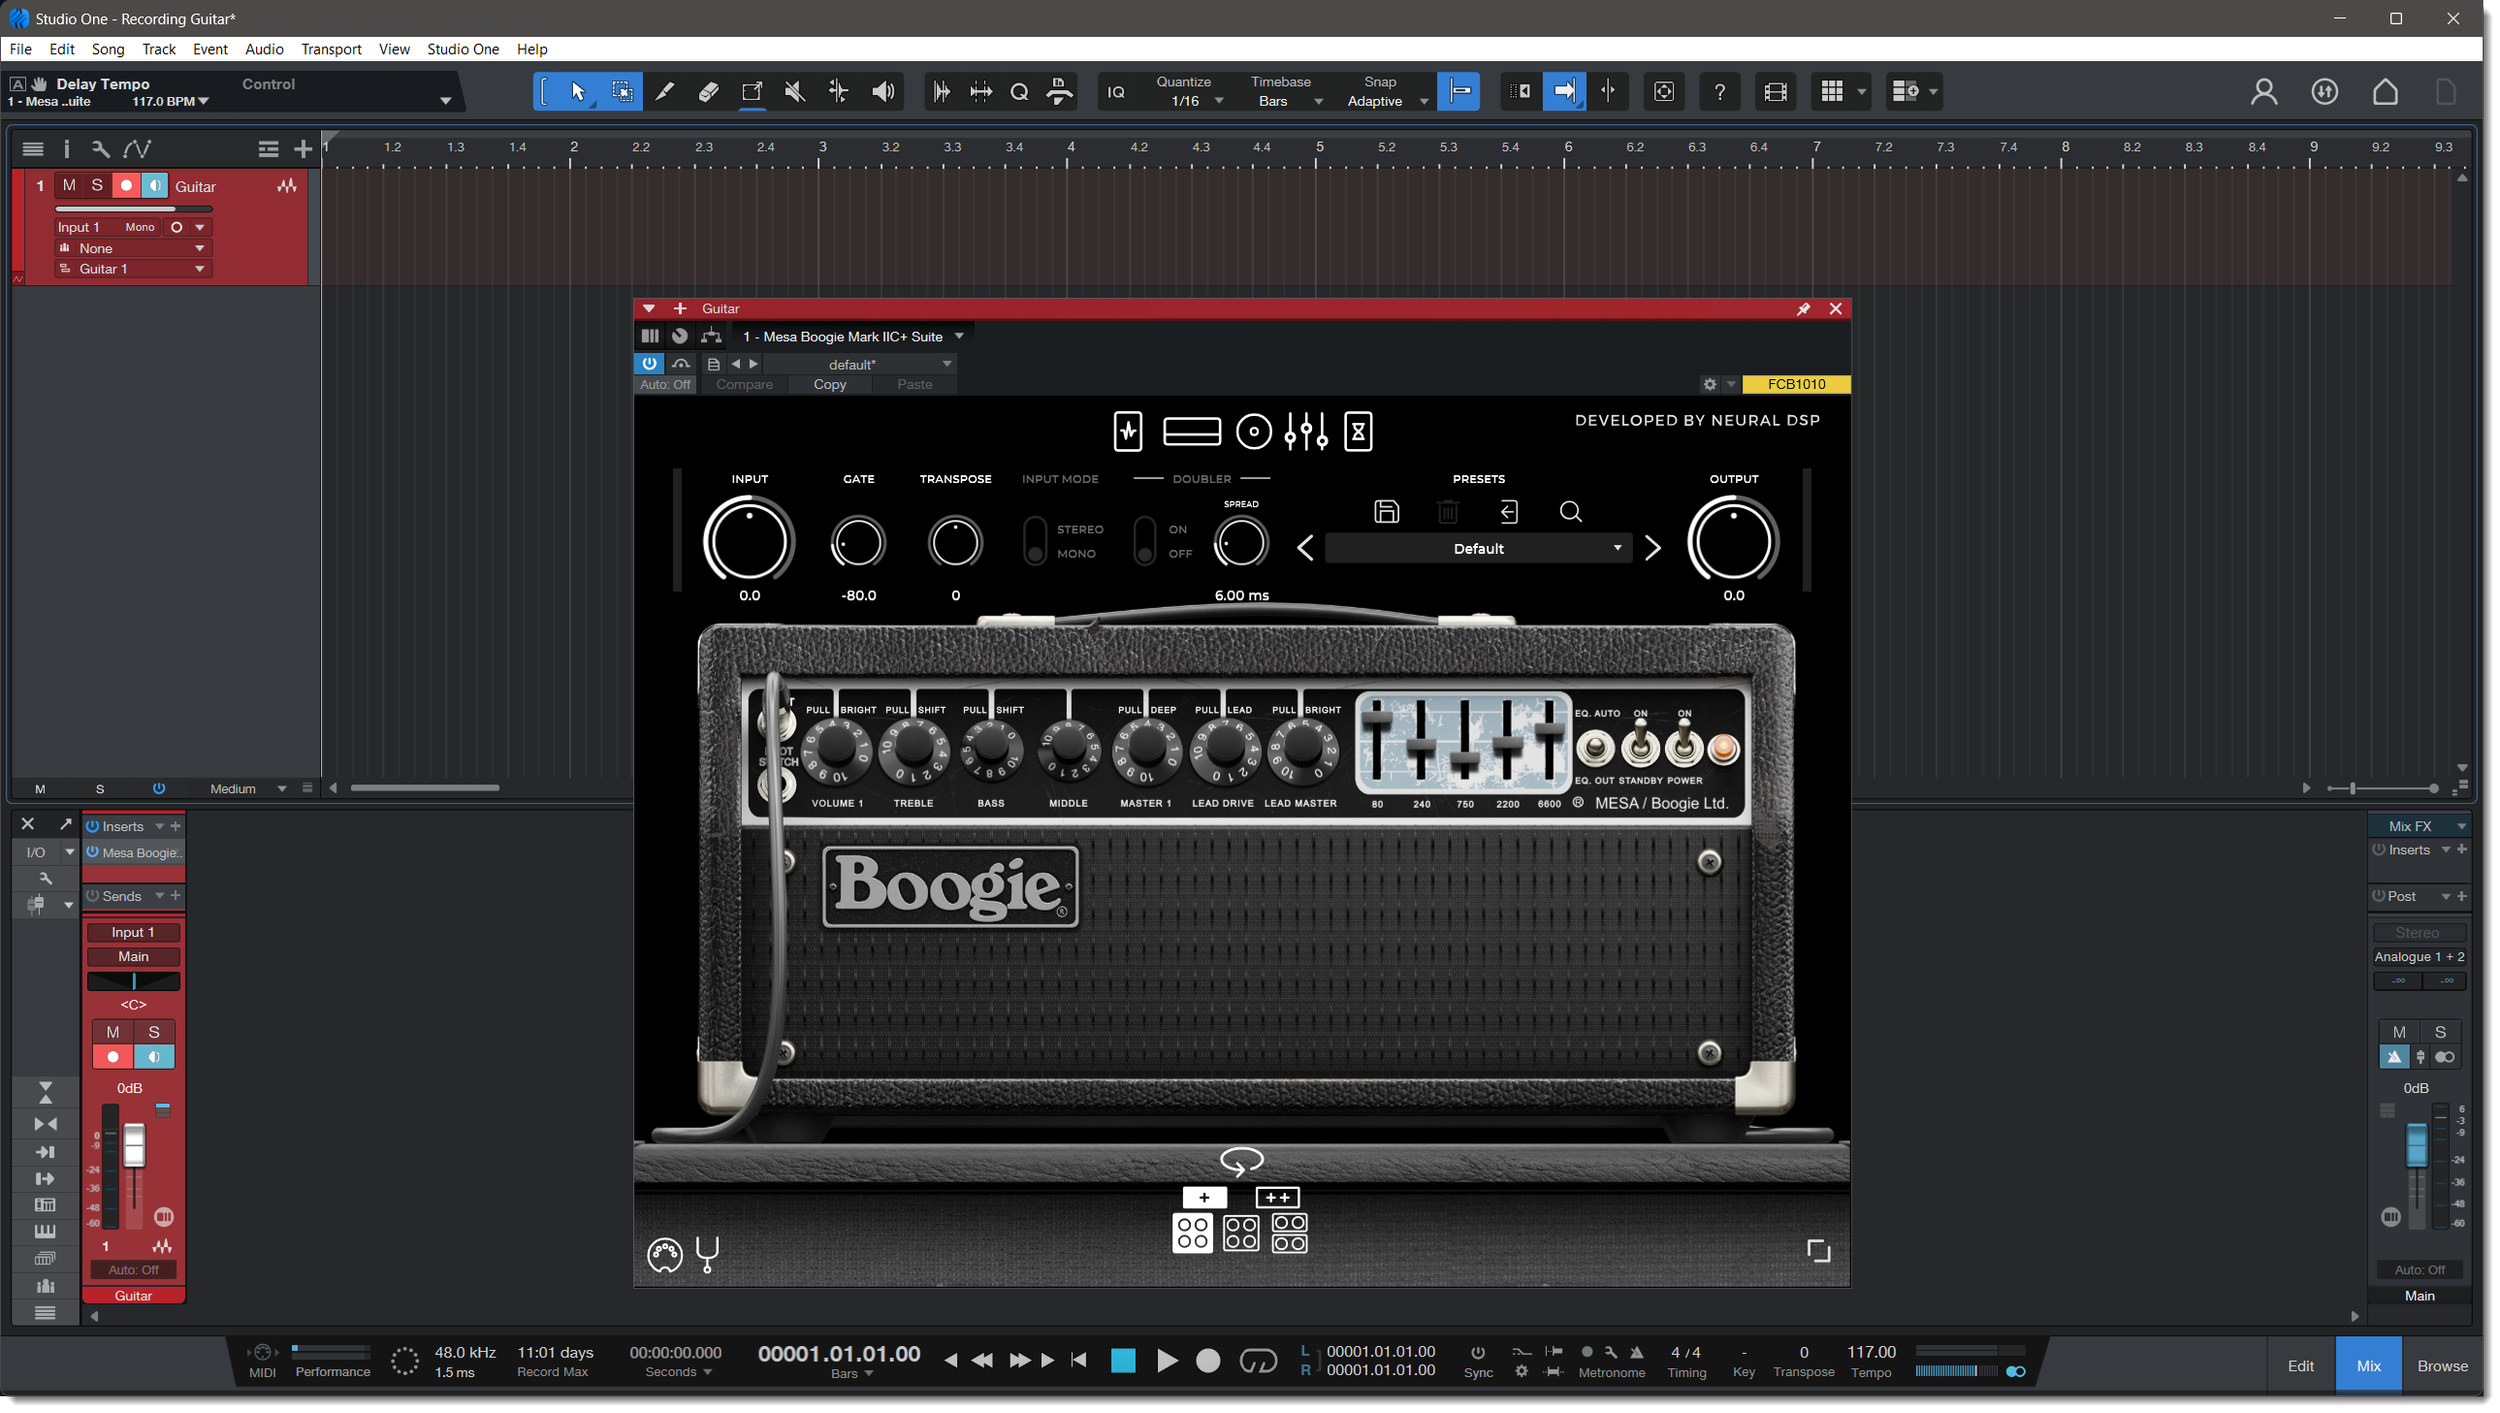
Amp Sim

The last thing you need is an amp sim, which will have the biggest impact on your guitar tone.
Most DAWs include a stock amp sim plugin, but these often leave a lot to be desired. You can improve any amp sim, stock or 3rd-party, using IRs (Impulse Responses). An IR is like a snapshot of how a guitar cabinet sounds in a space.
To get you started, you can download my Free Mix-Ready IR Pack.
Many amp sim companies offer free trials. Try a few to see what sounds good to you, or stick with the stock amp sim until you get a feel for things.
Set Up
Now that you have everything, it's time to set it up and get ready to record.
Hardware
Grab your guitar cable and plug one end into your guitar. Plug the other end into the instrument input on your audio interface, usually one the front and labeled with a guitar icon.
If you plan on using headphones, have them ready as well so you can monitor your recording without disturbing anyone.
Software
Today we are just focusing on recording guitar, it's not a full DAW tutorial. There are plenty of online resources if you want to learn more. If you'd like one-on-one lessons on using a DAW or more, feel free to send me a message.
Here's how to get your guitar ready to record:
Open your DAW and create a session - Start a new project and create a mono audio track.
Add your amp sim - Insert the amp sim of your choice on the track. This is where your guitar DI signal will be recorded
Set the BPM - If you already have a song or riff in mind, set the tempo now to avoid doing it later.
Enable input monitoring - Plug your guitar in, enable monitoring on the track, and confirm you can hear it in your headphones or speakers.
Adjust the input level - For most amp sims, keep your guitar signal just below the point where it peaks. This prevents clipping and keeps your tone clean. For more details, see my article 3 Ways to Instantly Improve Your Amp Sim Guitar Tone
Experiment with your amp sim - Play around with different amps, cabinets/IRs, effects, and other settings. Spend a few minutes getting familiar with the sound so you don't waste time adjusting it while recording.
Remember, you don't have to get the perfect tone right away. Aim for a tone that's in the ballpark of what you want. You can fine tune it later during mixing.
Recording
Before you hit record, let's make sure everything is set up for a smooth session.
Set your buffer size - Switch your buffer size to a low setting that's good for recording. This will keep the latency (delay between playing and hearing yourself) as small as possible. If you're not sure what buffer size is or how to set it, read The Secret to Setting Buffer Size.
Turn on the click track - Turn on the metronome and confirm the BPM is set where you want it. I like having a 2-bar pre-count and pre-roll so you can have time to get ready after hitting record.
Arm the track - With your amp sim set up, arm the mono track you created earlier so it's ready to record.
Tune your guitar (DO NOT SKIP THIS) - Always tune your guitar before recording. A perfectly played won't matter if it's out of tune. Get in the habit of retuning before every single take.
If your amp sim has a built-in tuner, use that.
If not, insert a tuner plugin as the very first insert onl your track, before any effects or amp sims. This way it hears the clean signal directly from your guitar.
I like keeping a tuner plugin open at all times so I can quickly glance and check. My personal favorite is Lock-On by Submission Audio. It's easy to use and works especially well for lower tunings.is my preferred tuner because it's easy to keep an eye on and works really well with lower tunings.
Final Check - Make sure your tone is inthe ballpark of what you want and that your levels look good. Don't stress about getting the perfect sound right now, you can always change it later during mixing.
Hit Record - The time is finally come. Check your tuning one more time, get comfortable, press record, and start playing!
Production Tips
For a bigger sound, record the part twice on separate tracks and pan one hard left and the other hard right. You have to actually record the part twice, duplicating the track will not work. To make it even wider, tweak the amp sim settings slightly on one track.
Always tune up to the note rather than down. Tightening the string helps it stay in tune longer.
Picking harder than normal increases the transient attack, which can help your guitar cut through a dense mix.
Strings above the nut will vibrate and cause unwanted noise, especially with distortion. This is called sympathetic noise. To tame it, put painter's tape, a hair tie, a wristband, or a product like Fretwraps on the strings above the nut.
For cleaner recordings, mute unused strings with painter's tape or slide a bit of paper towel or cloth under them.
Don't stress over mistakes. You can always undo or redo a take.
If a part is giving you trouble, don't be afraid to punch in. The goal is to capture the best performance.
Experiment with different amp heads and settings to see how the tone changes.
Try different cabinets or IRs for even more tone options.
For distorted tones, you'll often need less gain than you think. Lowering the gain while listening to the full mix can give your playing more clarity and note definition while still sounding heavy.
Conclusion
You should now have everything you need to start record guitar without the hassle of a real amp.
The same steps work for bass, and if you want to learn how to mix bass, check out my article 3-Step Bass Mix That Works Every Time.
Grab my free Mix-Ready IR Pack to get better tone out of your amp sims right away. Then start recording your ideas and turning them into finished songs.
What kind of music do you make? Leave a comment below and let me know.
-Anthony